Showing posts with label no-sew. Show all posts

Saturday, May 15, 2010

Jacket Makeover and Pink Circle Scarf

Hello!
This week was my little sister's birthday and I decided that I would give her a couple pieces of clothing. Not from the store! It was much more fun to make them and my little sister had always admired my blue circle scarf. Another thing she had always liked was this navy blue fabric jacket not made out of jean but in a jean jacket style.

   I made her a circle scarf out of a pink shirt I got from Michael's when the t-shirts were on sale and I gave her the jacket but I made some changes to it. I brought out my Crayola fabric markers and cut a star from some fabric and using a template. Those Crayola fabric markers are great and I only payed about a dollar at a yard sale for them! I thought of a few designs and settled on a "I Love Horses" design because she loves horses. I drew it and then ironed it to set the design.

   Then I had to sew on the patch. I thought at first that I would sew it on the sewing machine but my Mom thought that it would be better if I sewed it by hand. I decided that I would put it on the pocket and I sewed it on. I had to kind of go in the pocket and then out because I wanted the pocket to be able to open.

   That's was all I did besides clean the jacket first! My little sister really likes her scarf and jacket and I see her wear them all the time. She actually got a complement on the patch today. I love how the pink circle scarf turned out!
~~Ponytails

Tuesday, May 11, 2010

T-shirt into Belted Top Tutorial

I have this one t-shirt that I got for my birthday last year and I love it! The decal on it is so funny and cute! But it got a little hole in it, so I couldn't wear it. :-(


The little black arrow shows where the hole is located.
This is where the idea for this project started. I asked my older sister for advice about what I should do because you would normally just toss a shirt with a rip, but I loved this one! (And of course I wouldn't throw out a t-shirt! There is refashioning to be done!) My sister has good suggestions and I thought she could help. She said, "Well, you just make a hole in the other side so it will match!" I laughed because, well, she was being sarcastic. Thanks loads, Sis. "Wait! Hang on a second, that's a good idea!"

For this project you will need:

  • An old t-shirt with a hole near the side seam (if it's one near your waist or hips). If not, just an old t-shirt is fine.

  • Scissors

  • Ruler

  • Chalk, pencil, or fabric marker

  • A belt that looks nice with the t-shirt and fits well

1. If you do have a hole near the side seam, you don't need to make the mark. If you don't have a hole near the side seam put it on and make a mark on one side where you want the belt to sit (at your hips or waist). Then cut a very short slit. (Take the shirt off first!) If the shirt already has the slit/hole then skip this step. The picture below is showing that the hole is where the belt should sit. 

 2. Use the ruler to help you make a mark directly across from the other hole. Then cut another slit.


3. Now beside each slit make another slit only on the other side of the seam creating a sort of loop. You can make the slits bigger, but starting the slits smaller is a good idea.


4. Put on the t-shirt, slide the belt through the loops, and buckle it.
 You can make the slits longer if you need to. And if you make the slits to long then you can tuck a little bit of the slits under the belt.
5. Ta-da! Enjoy your new belted top! :)


 I think it turned out nicely! If you had a really thick or a really thin belt you would just make the loops big enough to put the belt through. You could also do this on a t-shirt that needs something special. So if you just wanted to make a belted top you could make it with a t-shirt that had no rip in it in the first place. I also made the slits holes instead, but now I know that slits will work a little bit better. ;-) And who says you have to stick with one belt?


I love the little flower charm on this one:


Or maybe sparkles to glam it up:


Or maybe just a simple black belt:


-Ponytails

Tuesday, April 20, 2010

2 New Scarves!

Hello!
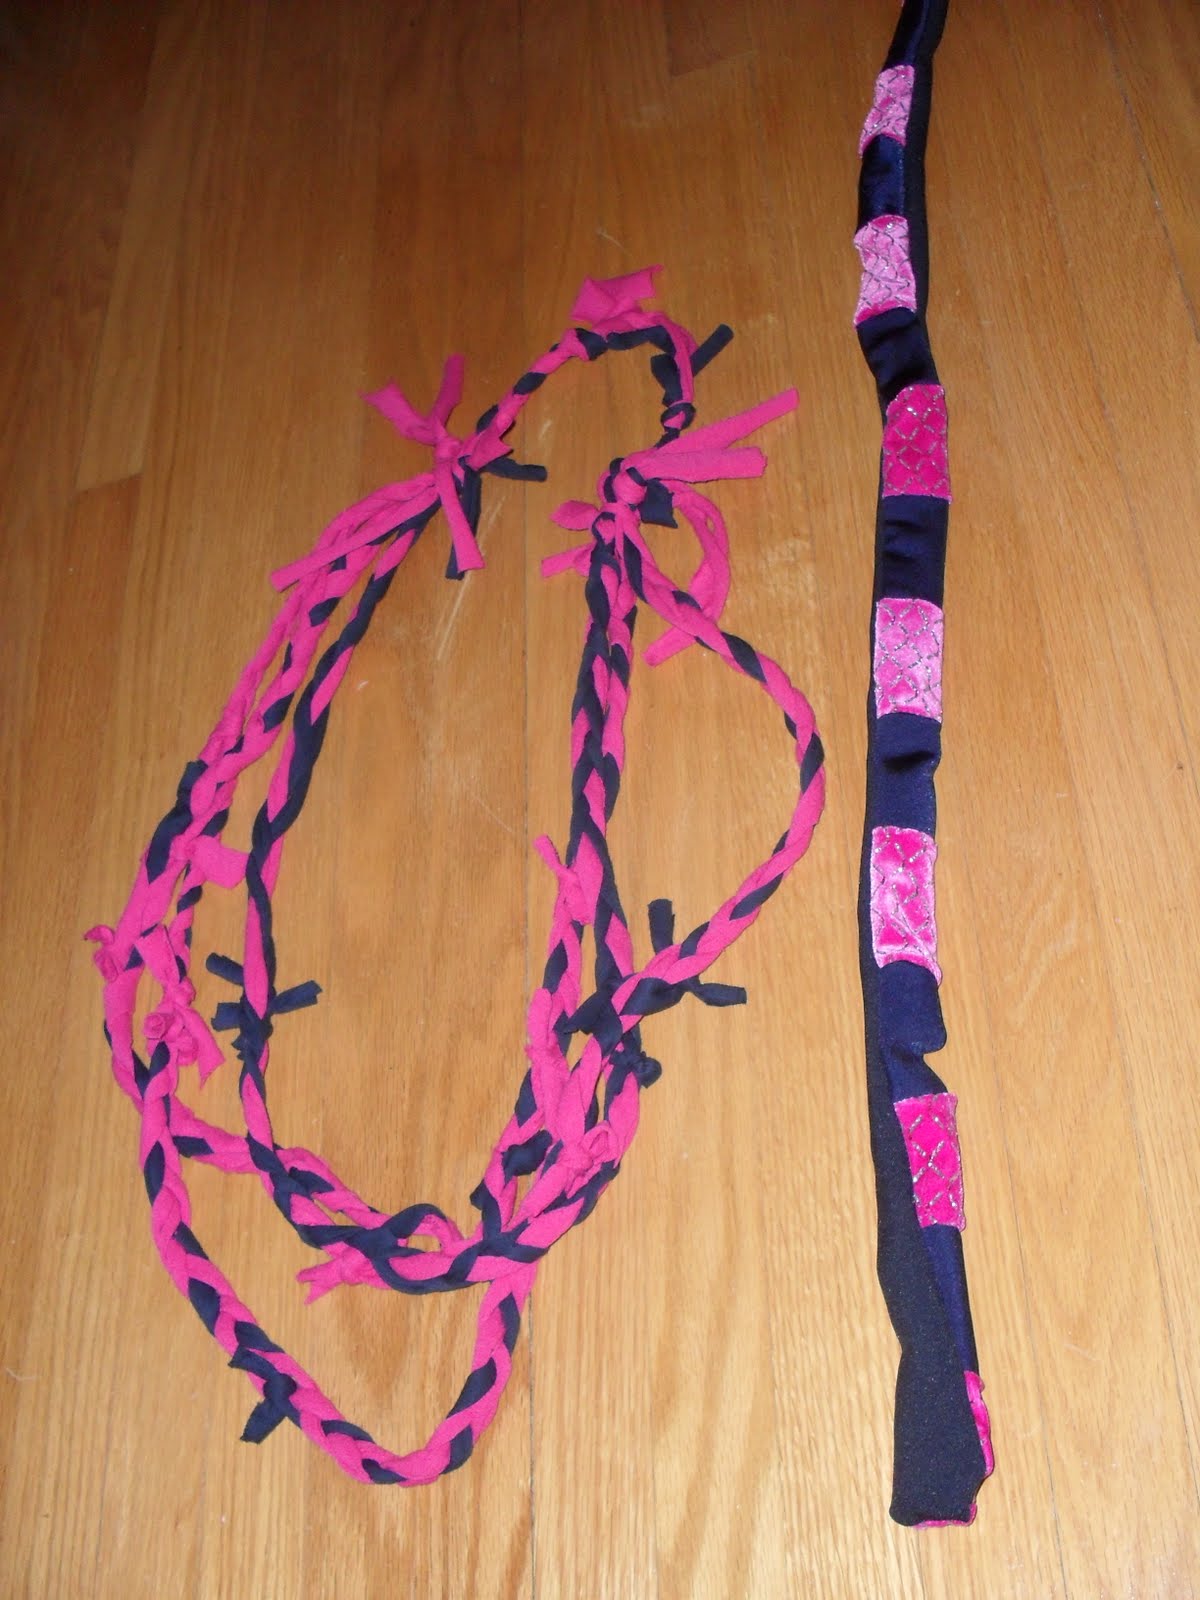
I made myself two new scarves a little while back about two weeks ago and thought I should show you them. To start off they are not made out of the same fabric. The braided one was made out of the tops of two t-shirts that I made circle scarves out of. The second one I sewed on the sewing machine out of scraps of fabric. I made up both of the scarves. Basically, for the first one I cut long strips from a t-shirt and tied them together to make a longer rope. then when there were three I braided them. Then I repeated that two more times and tied them all together to make a sort of loop of three long braids. The second one I just cut squares and sewed them all together, then cut one as big as the long line of pink and blue squares, sewed two long sides and one short side, turn it the right side out, and sewed the last short end up. The braided one is not one of my best tries to make a scarf, it was sort of more of an experiment.

~~Ponytails

Monday, April 19, 2010

Barbie and Only Hearts Club Dress Pattern

Hello!
I promised a Only Hearts Club doll(remember my little sister's doll?) dress pattern and here it is. I also made one for my Barbie so the measurements in bold italics are for Barbie. A Only Hearts Club doll is 9 inches high and a Barbie is 11 1/2 inches high.

1. Pick your fabric. I used a white and yellow gingham from my Mom's fabric box.

2. Gather a compass, ruler, fabric scissors, pinking shears(optional), doll for modeling, and little scrap of contrasting fabric for a sash.

3. Make your compass measure 4 inches (6 inches) and draw a circle and make a X where the point of your compass is.

4. Cut out your circle. Use pinking shears for a cleaner cut with less threads.

5. Fold it in half and cut a small slit where the X is. Start turning it into a half moon so that when you unfold it it will be a circle. Make sure it will fit easily over you doll's head.
6. Do arm holes in the same way. Only making them slits and then wiggle you finger through to make a hole. From the picture you can see how far to make the arm holes apart from the head hole. Make sure your doll's hands go into the holes easily.
7. Time to make the sash. Cut you contrasting fabric into a 7 inch (13 inch) strip as wide as you like.
8. Put the dress over your doll's head and through the arm holes.
9. Tie the sash at the back.
10. You are done! Enjoy you dress!


~~Ponytails
This pattern is Copyright 2010 My Passions for Fashions

Tuesday, March 30, 2010

Doll Clothes I Made!

Hello!
I made some doll clothes over March Break for my younger sister's doll, Anna Sophia.
I think those dolls are so cute! Anna Sophia came with clothes but I thought she could use some more. So behind my sister's back I made a few things. My own patterns! By the way, I will call my little sister Crayons.
Here is a dress I made with a floral print sash. The last picture is of a shirt and a skirt. Check out my new poll soon!

~~Ponytails

Sunday, March 14, 2010

The Circle Scarf

I did a project last week (with the help of my Dad) that I think turned out amazing!
The project I did was a circle scarf. The place I got it from was one of my favorite blogs, Mad in Crafts and she linked from here. I did the no-sew but you could do the sewing one too. Don't forget her post on the different ways to wear it! I was going to buy a new shirt but my Dad had bought a shirt that didn't fit right so, it cost me nothing! Here it is doubled!

~~Ponytails

Related Posts

Related Posts with Thumbnails