Showing posts with label hair. Show all posts

Friday, June 11, 2010

Hello Kitty Headband

(Image on left from: Salty Pineapple)
I found a really good tutorial from this great blog called Salty Pineapple. The tutorial I am featuring today is for a Hello Kitty Headband! I made one and it is so cute and it is really simple to make. Nikki, from Salty Pineapple used hard headbands to make them but I had bought a pack of stretchy elastic headbands awhile back that I barely wear so this was a great way to transform one into a special headband! The pack I had bought had 6 colours in two different styles per colour(thin ones without flowers and thick ones with flowers)so they were a really good deal! Here's what they look like:
There are lots of colour options to chose from! You can match the felt and headband colour like Nikki or make a colour combination, like me! I decided to go with a thin pink headband with a yellow bow. Here are the results from the headband:

This got me thinking, "Who else wears a bow?"
Minnie Mouse!
I doubled the size of the bow and instead of hot gluing it to the headband I just sewed it to headband to see if that would work too. You can also hot glue it. This would be great for a Halloween costume!
 I know the Minnie Mouse one looks a little bit dorky otherwise and I would probably NOT recomend wearing it in a place with lots of other people, like the mall. Because you would probably get some funny looks! :P
 I really like my new Hello Kitty headband! If you guys want more hair accessory projects please let me know! 
~~Ponytails


Tuesday, May 4, 2010

Crocheted Scrunchie Pattern

Hello!
I am hooked on crochet! I made this pattern for a hair scrunchie and I hope you enjoy it!

For this project you will need:
Chunky yarn (I used Patons Shetland Chunky in Blue Jeans that was given to me)
6.00mm J crochet hook (you can use a little bit smaller or bigger hook)
Scissors
Yarn needle
Ponytails holder (packs can be found at the dollar store)

Stitches used: chain, single crochet, and slipstitch

1. Make a slipknot and put your hook through. Now we need to attach the yarn to the ponytail holder.

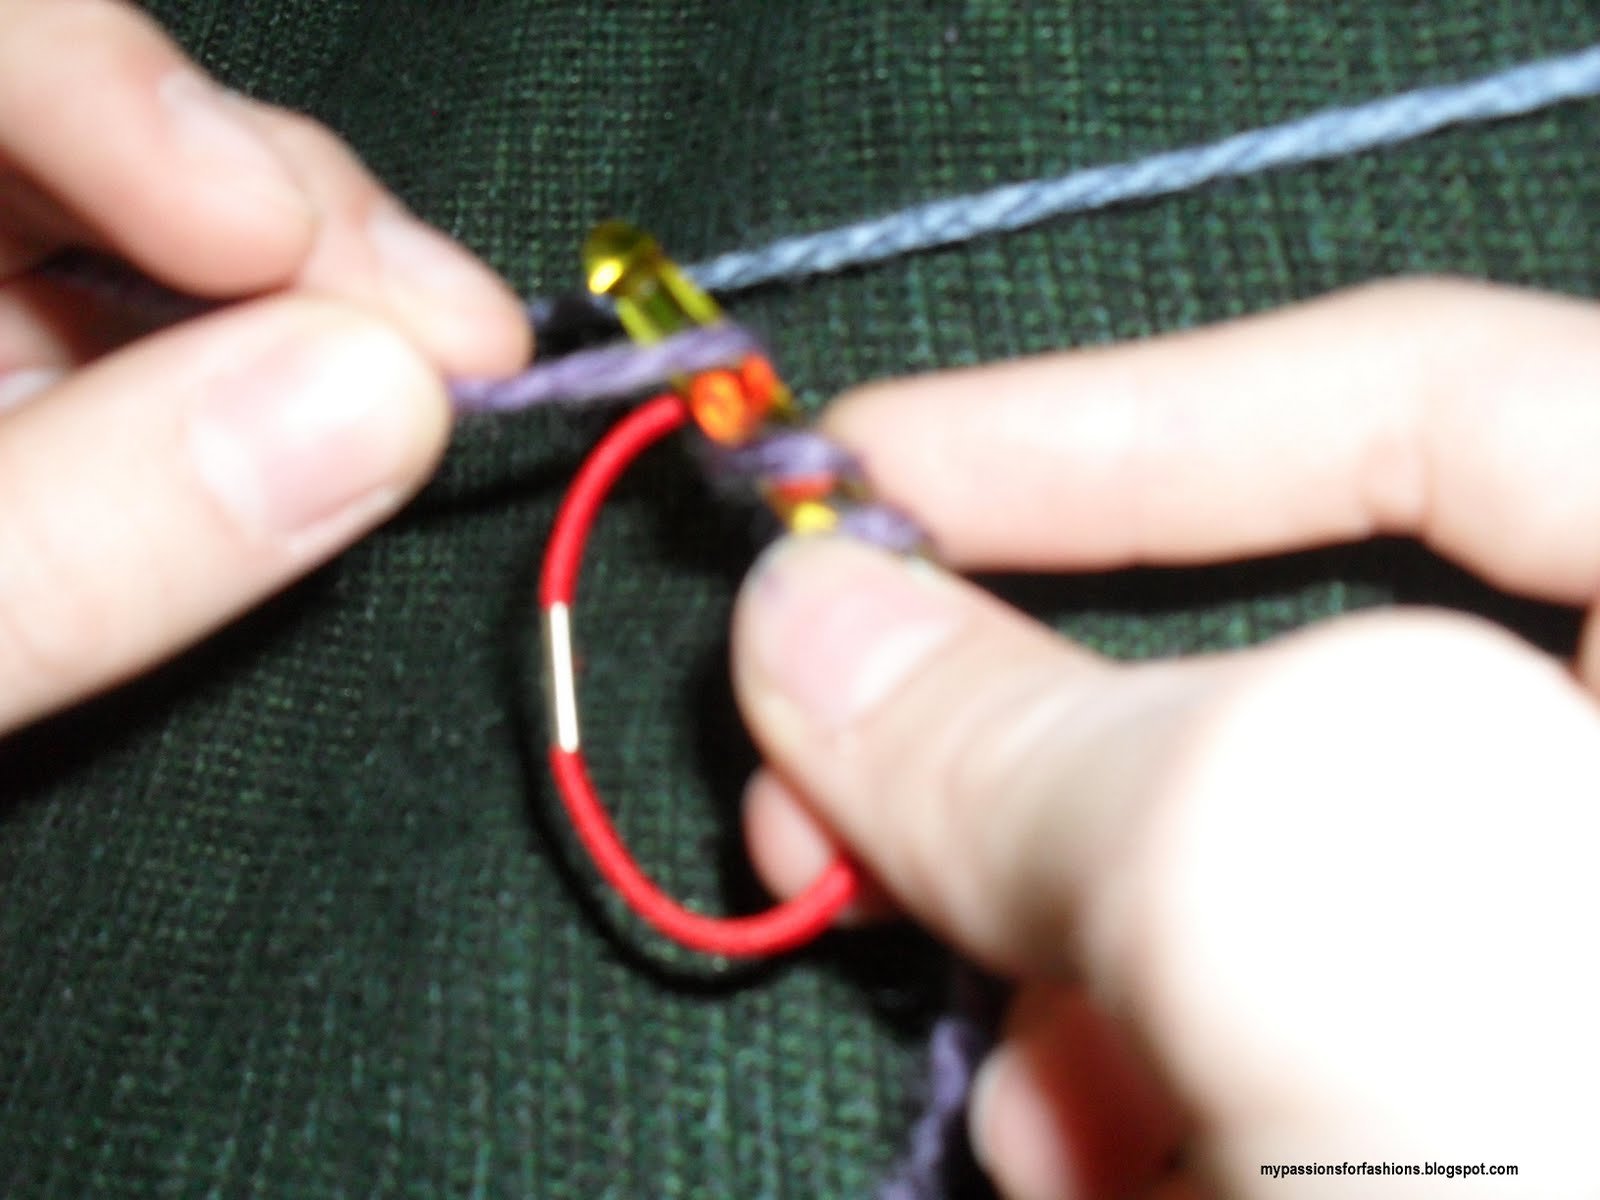
2. Slip the ponytail holder over your hook, wrap the yarn over your hook, and pull through the two bottom loops.

3. Make one single crochet to hold it in place. Like this:
Go under the elastic instead of going in rows
Wrap the yarn over the hook (yarn over)
Bring back the yarn (the yarn you just wrapped over the hook)
Now you have two loops of yarn
Wrap the yarn over the hook again (yarn over)
Now bring the two bottom loops over the yarn you just wrapped over your hook!
That's how you do single crochet on a ponytail holder!

4. Single crochet on the ponytail holder 22 more times.

5. Slip stitch in the first single crochet to close the row. Now you are crocheting in the tops of the stitches.

6. Single crochet 1 time.

 7. Chain 10, single crochet in the next stitch, chain 10, single crochet in the next stitch. Continue this the whole way around.

8. Slipstitch in the first single crochet to close the row.

9. Fasten off and weave in yarn ends.

10. Enjoy your scrunchie!


~~Ponytails 
This pattern is Copyright 2010 My Passions for Fashions

Saturday, April 17, 2010

Hairstyles

Hello!
I thought I would show you some styles that I did on my sister's Barbie styling head. Sort of like this one.
It's not fancy just thought I would show you guys.  First, two buns and a hairband. I thought this one was cute. Next, a french braid ponytail. The hair on this model was easy to french braid. Last, two braids and a hairband.

~~Ponytails

Related Posts

Related Posts with Thumbnails