Showing posts with label pattern. Show all posts

Wednesday, May 12, 2010

Finished Shirt (Clothes Design Class)

Hello!
I finished the top I was working on last week that is made out of knit fabric and here are the pictures! I think it turned out great. I looks really good with a wide belt over it. My favourite part of making this was that I learned how to make patterns for tops.
   I also made a smaller version for my Barbie because I had extra fabric. I know that I'm a tiny little bit old to play with Barbies but they make really good clothes models if you have an idea you want to try out but you don't want to use a whole lot of fabric. I also made a dress for my Barbie using the same idea from the shirt only making it long enough to be a dress.
~~Ponytails

Tuesday, May 4, 2010

Crocheted Scrunchie Pattern

Hello!
I am hooked on crochet! I made this pattern for a hair scrunchie and I hope you enjoy it!

For this project you will need:
Chunky yarn (I used Patons Shetland Chunky in Blue Jeans that was given to me)
6.00mm J crochet hook (you can use a little bit smaller or bigger hook)
Scissors
Yarn needle
Ponytails holder (packs can be found at the dollar store)

Stitches used: chain, single crochet, and slipstitch

1. Make a slipknot and put your hook through. Now we need to attach the yarn to the ponytail holder.

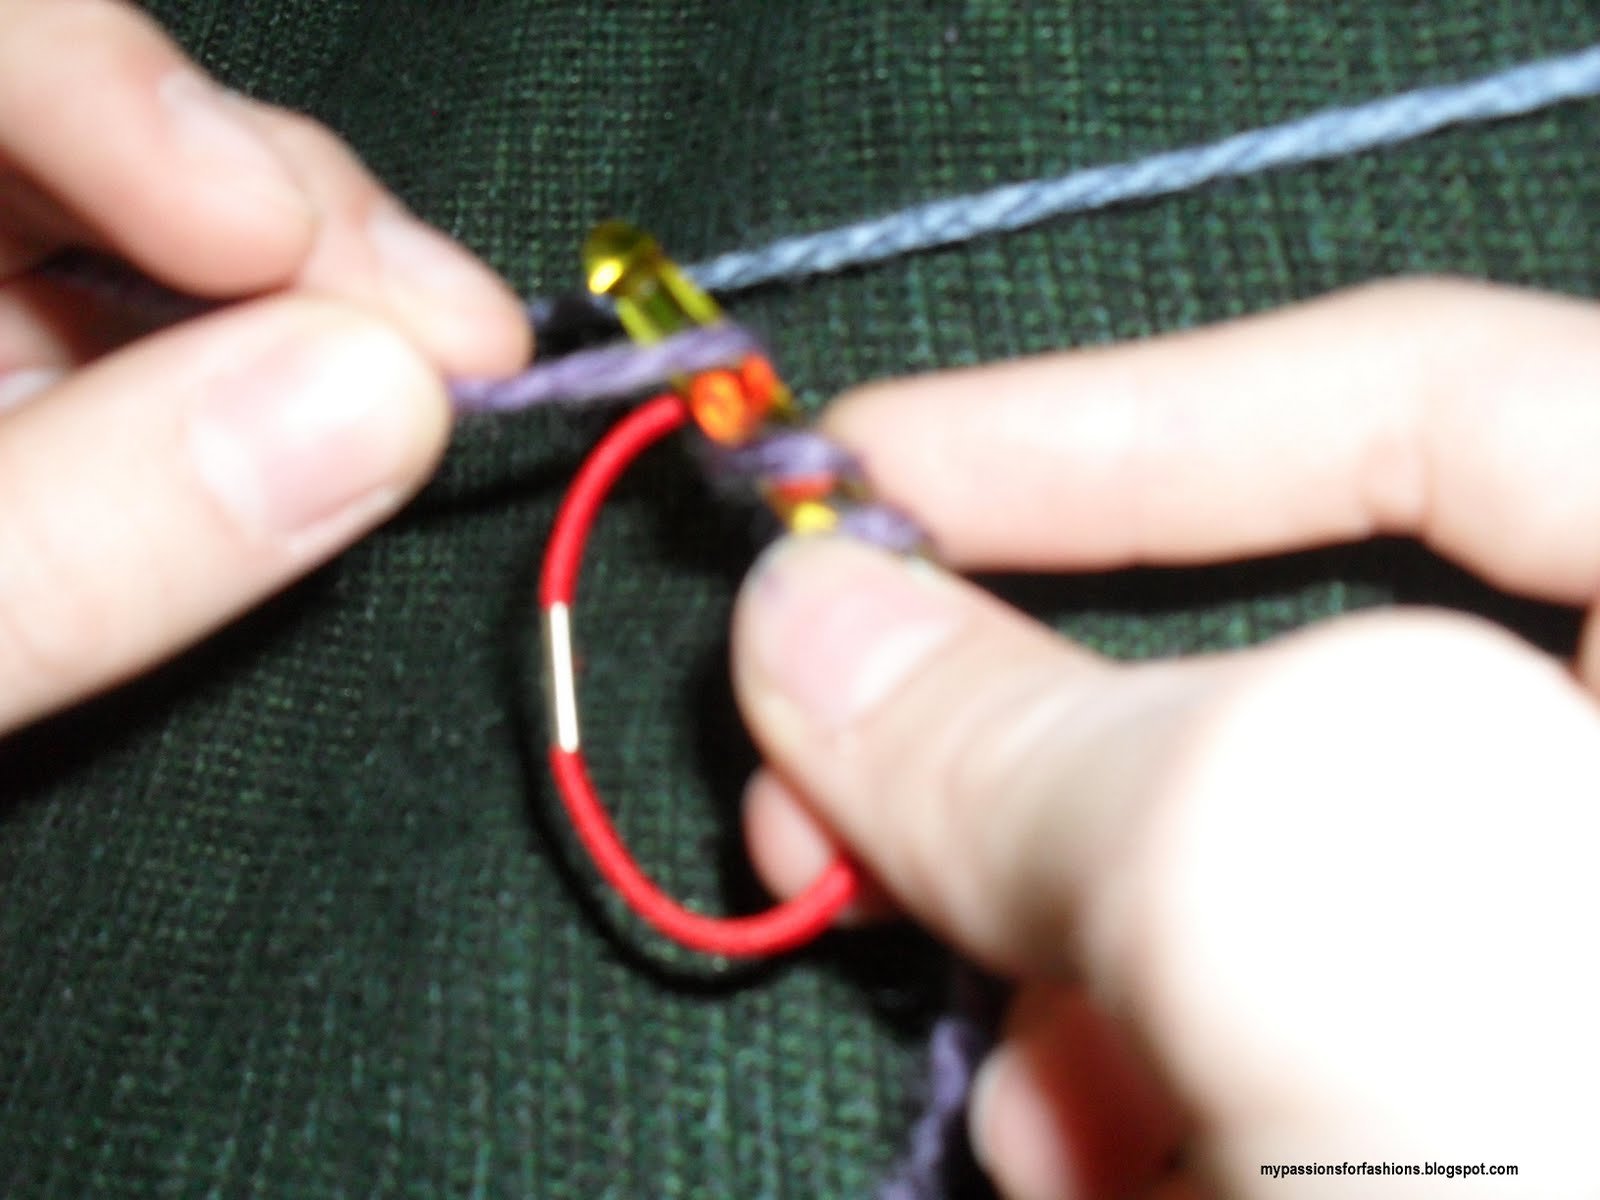
2. Slip the ponytail holder over your hook, wrap the yarn over your hook, and pull through the two bottom loops.

3. Make one single crochet to hold it in place. Like this:
Go under the elastic instead of going in rows
Wrap the yarn over the hook (yarn over)
Bring back the yarn (the yarn you just wrapped over the hook)
Now you have two loops of yarn
Wrap the yarn over the hook again (yarn over)
Now bring the two bottom loops over the yarn you just wrapped over your hook!
That's how you do single crochet on a ponytail holder!

4. Single crochet on the ponytail holder 22 more times.

5. Slip stitch in the first single crochet to close the row. Now you are crocheting in the tops of the stitches.

6. Single crochet 1 time.

 7. Chain 10, single crochet in the next stitch, chain 10, single crochet in the next stitch. Continue this the whole way around.

8. Slipstitch in the first single crochet to close the row.

9. Fasten off and weave in yarn ends.

10. Enjoy your scrunchie!


~~Ponytails 
This pattern is Copyright 2010 My Passions for Fashions

Tuesday, April 27, 2010

Crocheted Eco-Friendly Plastic Bag Cuff Bracelet

Hello!
Have I ever said that I am hooked on crocheting? Well, I was reading a crocheting book this one and read a pattern for a purselet made out of plastic bags! I made it and love it! But I loved crocheting with plastic so I made this pattern for a bracelet cuff. I love how it turned out! Also, it will probably cost you no money at all!

For this project you will need:
10.00 mm crochet hook
4 plastic bags in contrasting colours (different sizes are okay)
yarn needle
button with shank on the back
needle small enough to fit through the button
thread (any colour will do)


1. Flatten the bags and lay them on top of each other with the bottoms of the bags lined up.
2. Fold the bags in half and make sure the bottoms are lined up.
3. Cut off about an inch from the bottoms of the bags and unfold them again.

4. Straighten the bags out again and fold them in half.

5. Now cut the bags into about one inch strips. Stop when you come to the handles. Notice how the bag says: energy, earth, and water? I thought that was funny because we are doing a eco-friendly project here!


6. Start unfolding the strips. Now we are going to put our "yarn" together. Figure out which colors are going to go next to which colors. You may get a few ripped loops so throw those out or save them.

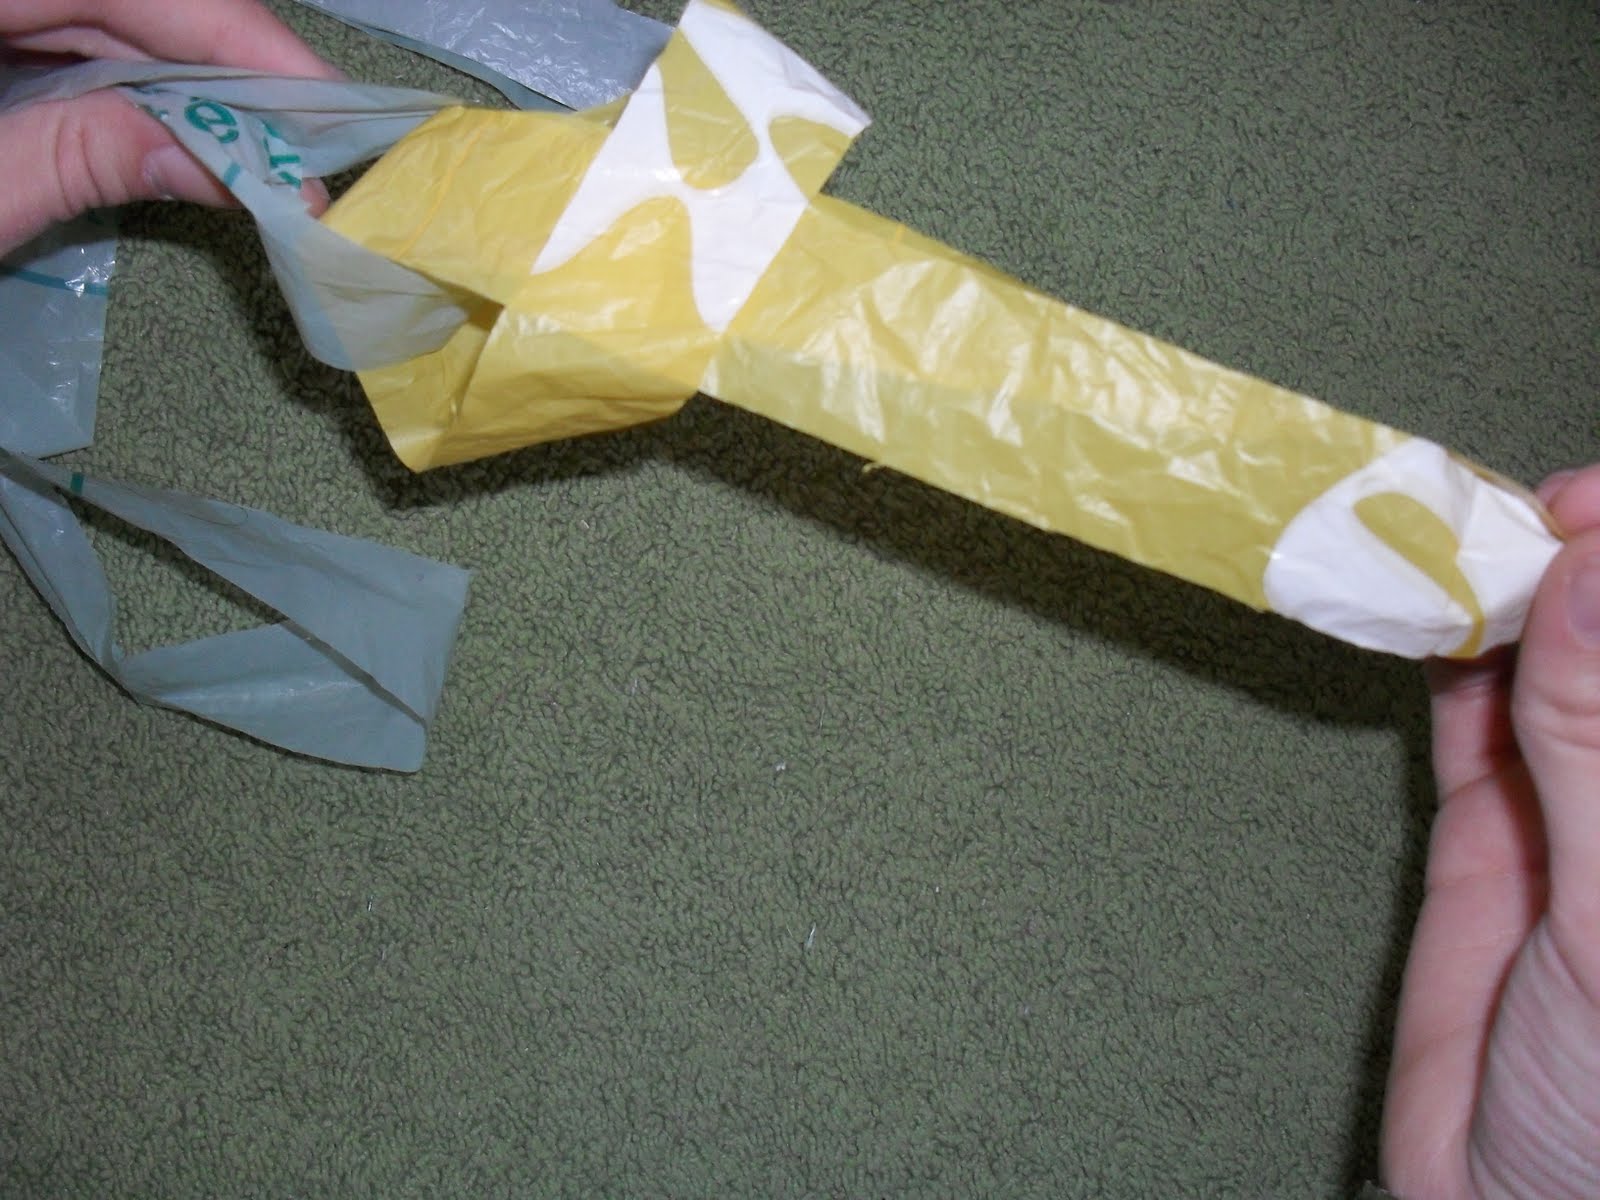
7.  To start the yarn take two loops and put one inside the other the pictures will help explain the process and I will explain it better by saying the colours of the loops.

8. Bring up the yellow loop and thread it through itself.

9. Pull. Not to tightly, it will rip!


10. Keep repeating this process until you have used all the loops. Treat the loops as one piece of yarn and keep the two piece of the loops together as you crochet.

11. Roll them into a ball.
12. Make a slipknot and chain 14 or enough to just fit around your wrist.


13. Row 1: Skip the first chain and single crochet in the all the next stitches.

Row 2: Chain 1 and single crochet in all the stitches.

Row 3: Chain 1 and single crochet in all the stitches.

Row 4: Chain 1 and single crochet in all the stitches.
Row 5: Chain 1 and single crochet in all the stitches. It's okay if the crocheted piece curls up a bit.

14. End off and weave in yarn ends with the yarn needle.

15. Thread the other needle with 24 inches of thread and double it. Put the thread through the button and tie a knot near the end of the thread.

16. Put the needle through one end of the bracelet near the middle, up the other side, and through the button again. Repeat this until it is very securely attacted. Tie a knot at the back of the cuff.
 

17. Then snip off one of the loops of yarn, snip it open, and tie it back up to make it smaller.

18. Put it through the other side opposite the button and do the same thing as you did making the yarn, thread it through itself. You may need to make the loop smaller.

19. Put it on by putting the loop around the button.

20. Enjoy your eco-friendly cuff bracelet!
This pattern is Copyright 2010 My Passions for Fashions

~~Ponytails

Monday, April 19, 2010

Barbie and Only Hearts Club Dress Pattern

Hello!
I promised a Only Hearts Club doll(remember my little sister's doll?) dress pattern and here it is. I also made one for my Barbie so the measurements in bold italics are for Barbie. A Only Hearts Club doll is 9 inches high and a Barbie is 11 1/2 inches high.

1. Pick your fabric. I used a white and yellow gingham from my Mom's fabric box.

2. Gather a compass, ruler, fabric scissors, pinking shears(optional), doll for modeling, and little scrap of contrasting fabric for a sash.

3. Make your compass measure 4 inches (6 inches) and draw a circle and make a X where the point of your compass is.

4. Cut out your circle. Use pinking shears for a cleaner cut with less threads.

5. Fold it in half and cut a small slit where the X is. Start turning it into a half moon so that when you unfold it it will be a circle. Make sure it will fit easily over you doll's head.
6. Do arm holes in the same way. Only making them slits and then wiggle you finger through to make a hole. From the picture you can see how far to make the arm holes apart from the head hole. Make sure your doll's hands go into the holes easily.
7. Time to make the sash. Cut you contrasting fabric into a 7 inch (13 inch) strip as wide as you like.
8. Put the dress over your doll's head and through the arm holes.
9. Tie the sash at the back.
10. You are done! Enjoy you dress!


~~Ponytails
This pattern is Copyright 2010 My Passions for Fashions

Related Posts

Related Posts with Thumbnails