Wednesday, May 12, 2010

Finished Shirt (Clothes Design Class)

Hello!
I finished the top I was working on last week that is made out of knit fabric and here are the pictures! I think it turned out great. I looks really good with a wide belt over it. My favourite part of making this was that I learned how to make patterns for tops.
   I also made a smaller version for my Barbie because I had extra fabric. I know that I'm a tiny little bit old to play with Barbies but they make really good clothes models if you have an idea you want to try out but you don't want to use a whole lot of fabric. I also made a dress for my Barbie using the same idea from the shirt only making it long enough to be a dress.
~~Ponytails

Tuesday, May 11, 2010

T-shirt into Belted Top Tutorial

I have this one t-shirt that I got for my birthday last year and I love it! The decal on it is so funny and cute! But it got a little hole in it, so I couldn't wear it. :-(


The little black arrow shows where the hole is located.
This is where the idea for this project started. I asked my older sister for advice about what I should do because you would normally just toss a shirt with a rip, but I loved this one! (And of course I wouldn't throw out a t-shirt! There is refashioning to be done!) My sister has good suggestions and I thought she could help. She said, "Well, you just make a hole in the other side so it will match!" I laughed because, well, she was being sarcastic. Thanks loads, Sis. "Wait! Hang on a second, that's a good idea!"

For this project you will need:

  • An old t-shirt with a hole near the side seam (if it's one near your waist or hips). If not, just an old t-shirt is fine.

  • Scissors

  • Ruler

  • Chalk, pencil, or fabric marker

  • A belt that looks nice with the t-shirt and fits well

1. If you do have a hole near the side seam, you don't need to make the mark. If you don't have a hole near the side seam put it on and make a mark on one side where you want the belt to sit (at your hips or waist). Then cut a very short slit. (Take the shirt off first!) If the shirt already has the slit/hole then skip this step. The picture below is showing that the hole is where the belt should sit. 

 2. Use the ruler to help you make a mark directly across from the other hole. Then cut another slit.


3. Now beside each slit make another slit only on the other side of the seam creating a sort of loop. You can make the slits bigger, but starting the slits smaller is a good idea.


4. Put on the t-shirt, slide the belt through the loops, and buckle it.
 You can make the slits longer if you need to. And if you make the slits to long then you can tuck a little bit of the slits under the belt.
5. Ta-da! Enjoy your new belted top! :)


 I think it turned out nicely! If you had a really thick or a really thin belt you would just make the loops big enough to put the belt through. You could also do this on a t-shirt that needs something special. So if you just wanted to make a belted top you could make it with a t-shirt that had no rip in it in the first place. I also made the slits holes instead, but now I know that slits will work a little bit better. ;-) And who says you have to stick with one belt?


I love the little flower charm on this one:


Or maybe sparkles to glam it up:


Or maybe just a simple black belt:


-Ponytails

Monday, May 10, 2010

Happy Mother's Day!

Happy Mother's Day!
~~Ponytails

Friday, May 7, 2010

Terrific Thrifty Thursday #4

Hello!
Here is this week's Terrific Thrifty Thursday! First up is this ruffle t-shirt skirt. It's made out of t-shirts so it is super soft!

 And now for this accessory project. I like the colours in this bracelet and it can cost you $1.00 to free depending if you have coloured paper clips on hand.

That's it for this Terrific Thrifty Thursday. If you want to be feautured on a Terrific Thrifty Thursday than e-mail a frugal crafting, easy cooking, accessory, or clothing related idea to:  mypassionsforfashions (at) yahoo (dot) ca If you have been featured in this week's edition of Terrific Thrifty Thursday then don't forget to grab a button for your blog!
~~Ponytails

Thursday, May 6, 2010

More Clothes Design Class

Hello!
I finished the shirt that I was making. (pictures coming soon!) Now I want to make a pair of jean shorts. Not from scratch! I have an old pair of jeans from Old Navy that are kind of baggy but would look fine as shorts. Here is what they look like now. I will post picture when they are done. I also picked up these markers from a yard sale about a year ago for about a dollar and I think I might use them. What do you think?
~~Ponytails

Tuesday, May 4, 2010

Crocheted Scrunchie Pattern

Hello!
I am hooked on crochet! I made this pattern for a hair scrunchie and I hope you enjoy it!

For this project you will need:
Chunky yarn (I used Patons Shetland Chunky in Blue Jeans that was given to me)
6.00mm J crochet hook (you can use a little bit smaller or bigger hook)
Scissors
Yarn needle
Ponytails holder (packs can be found at the dollar store)

Stitches used: chain, single crochet, and slipstitch

1. Make a slipknot and put your hook through. Now we need to attach the yarn to the ponytail holder.

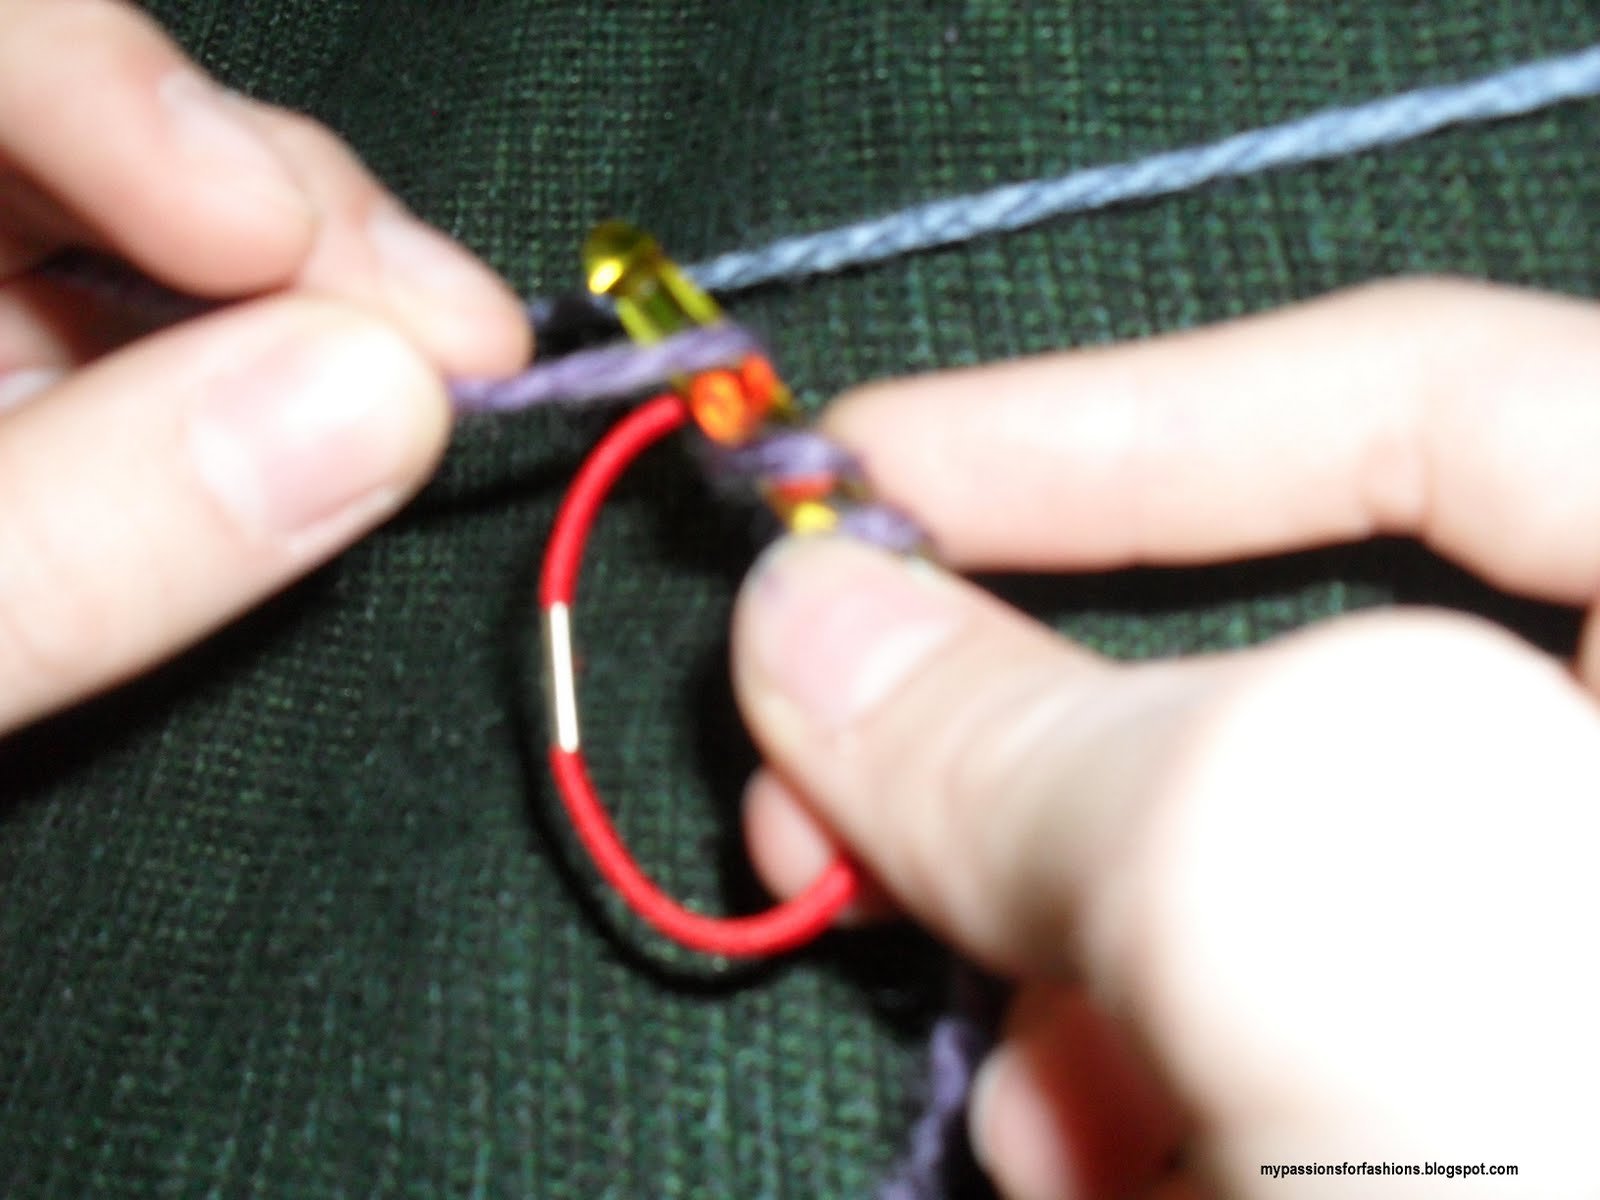
2. Slip the ponytail holder over your hook, wrap the yarn over your hook, and pull through the two bottom loops.

3. Make one single crochet to hold it in place. Like this:
Go under the elastic instead of going in rows
Wrap the yarn over the hook (yarn over)
Bring back the yarn (the yarn you just wrapped over the hook)
Now you have two loops of yarn
Wrap the yarn over the hook again (yarn over)
Now bring the two bottom loops over the yarn you just wrapped over your hook!
That's how you do single crochet on a ponytail holder!

4. Single crochet on the ponytail holder 22 more times.

5. Slip stitch in the first single crochet to close the row. Now you are crocheting in the tops of the stitches.

6. Single crochet 1 time.

 7. Chain 10, single crochet in the next stitch, chain 10, single crochet in the next stitch. Continue this the whole way around.

8. Slipstitch in the first single crochet to close the row.

9. Fasten off and weave in yarn ends.

10. Enjoy your scrunchie!


~~Ponytails 
This pattern is Copyright 2010 My Passions for Fashions

Sunday, May 2, 2010

Old Navy!

Hello! Disclaimer: I was not asked to do this review and it was done at my own free will.
I have found a really good store that almost always has what you are looking for. What store is that? Old Navy. A few of my friends also find that they have a little something for everyone. I think people like it because Old Navy's clothes come in so many different colours and styles that you almost always come out with something. Here's a link to the girls section.
  Here are some things that I think are the highlights of their store: They have very nice fitting jeans in quite a varity of washes. I have the jeans below and love them. I had been looking for jeans for a long time that fit pretty much perfectly and because the size range is so large it makes it easy to find some jeans that fit.
  Let's say you are a size 8 for example, you can try a 8 in regular, slim, or plus size and in flare, boot-cut, or skinny. I have a story: Before I knew that my size came in regular, slim and plus-size I picked out two different washes of boot-cut jeans, tried one pair on and they fit perfect, tried on the other and they were all baggy. I said, "Huh?" Then I figured out that they had stickers that showed if they were regular, slim, or plus size!
  Another thing is that they have nice sweaters. So if you need a sweater I would recomend Old Navy. Here are two that I found on the website that are nice. I have the sweater below only in pink with white stripes.

They have about $3.00 flip flops in so many colours and patterns. I would get a new pair every year because the foam ones do pick up germs. The regular sandles look pretty nice too.
They also have loads of graphic t-shirts with cute decals. Here are some I found on the website. I have one that says: I Like Doing Fun Stuff!
That's why I think Old Navy is a good place to shop. Especially for girls in between the ages 7 and 15. ~~Ponytails 

Related Posts

Related Posts with Thumbnails